
Apple’s AirTag is a neat piece of technology allowing for a user to easily locate their lost things. Except, for the small issue that its huge! At 8mm thick it can’t fit easily in most wallets, causing a large uncomfortable bump. I tried several things to help mitigate that issue including designing a shell to help spread out the bump and printing someone else’s credit card ring loop. However that broke in a month, and I was stuck without a tracker.
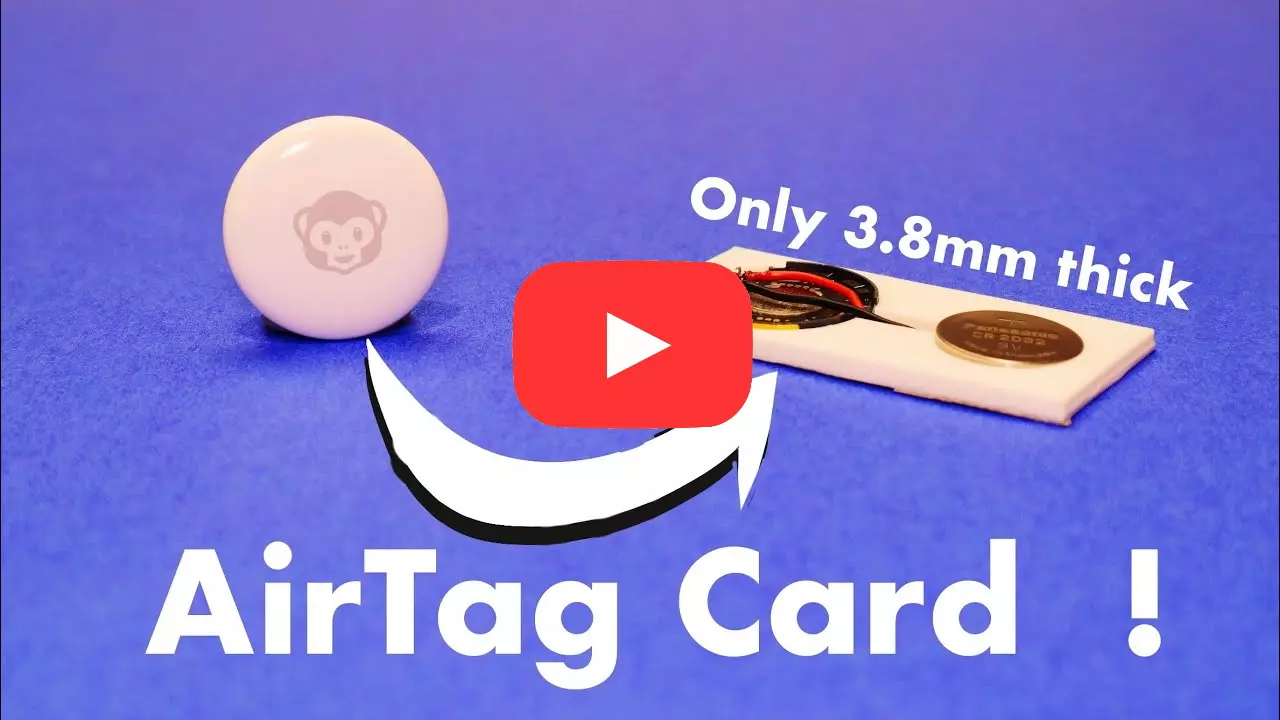
A friend of mine sent me this video: I turned an AirTag into a card for wallets! by Andrew Ngai.
I was really excited with what I had seen in the video and I wanted to build my own with some twists. I had several things I wanted to change like integrating the speaker into the 3d print itself. I also didn’t want to have Duck Tape anywhere in my design because after a while the glue of the Duck Tape will leak out of the sides and get onto everything in my wallet.
So I finally got around to it. After several iterations of the case I got down to this.
Onto the design
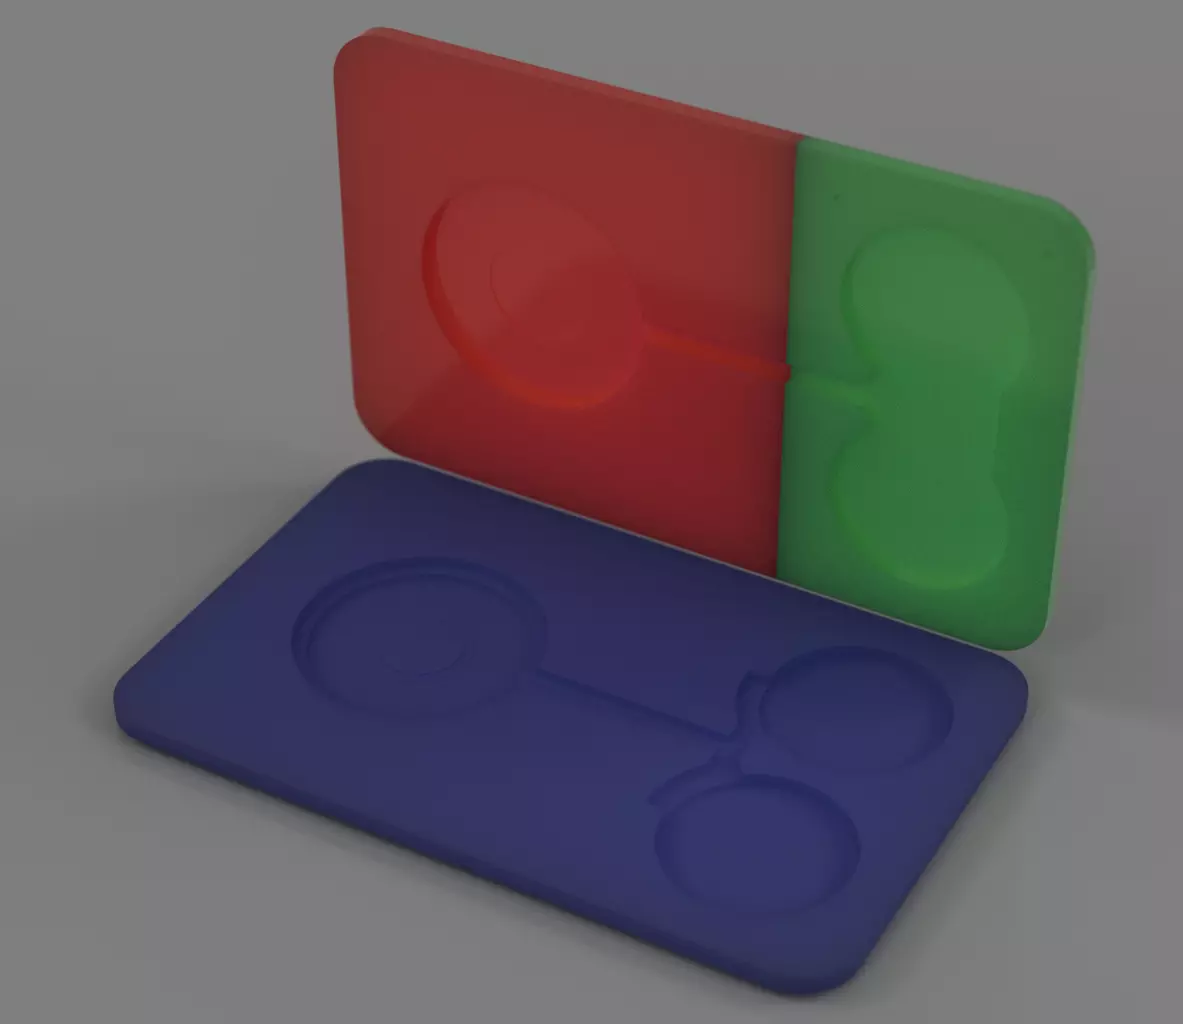
After taking measurements and going through a few iterations I came up with the following design. I worked hard to integrate the speaker into the design so that I wouldn’t have to add any extra material to the case, keeping the design as simple as possible. I also added locating features to help place the voice coil and speaker. i also wanted to have the battery spring loaded so that it would be easy to swap the batteries in the future. The last part I added was a separate battery door so that i wouldn’t have to expose the AirTag PCB to the outside world again.
Deconstructing the AirTag
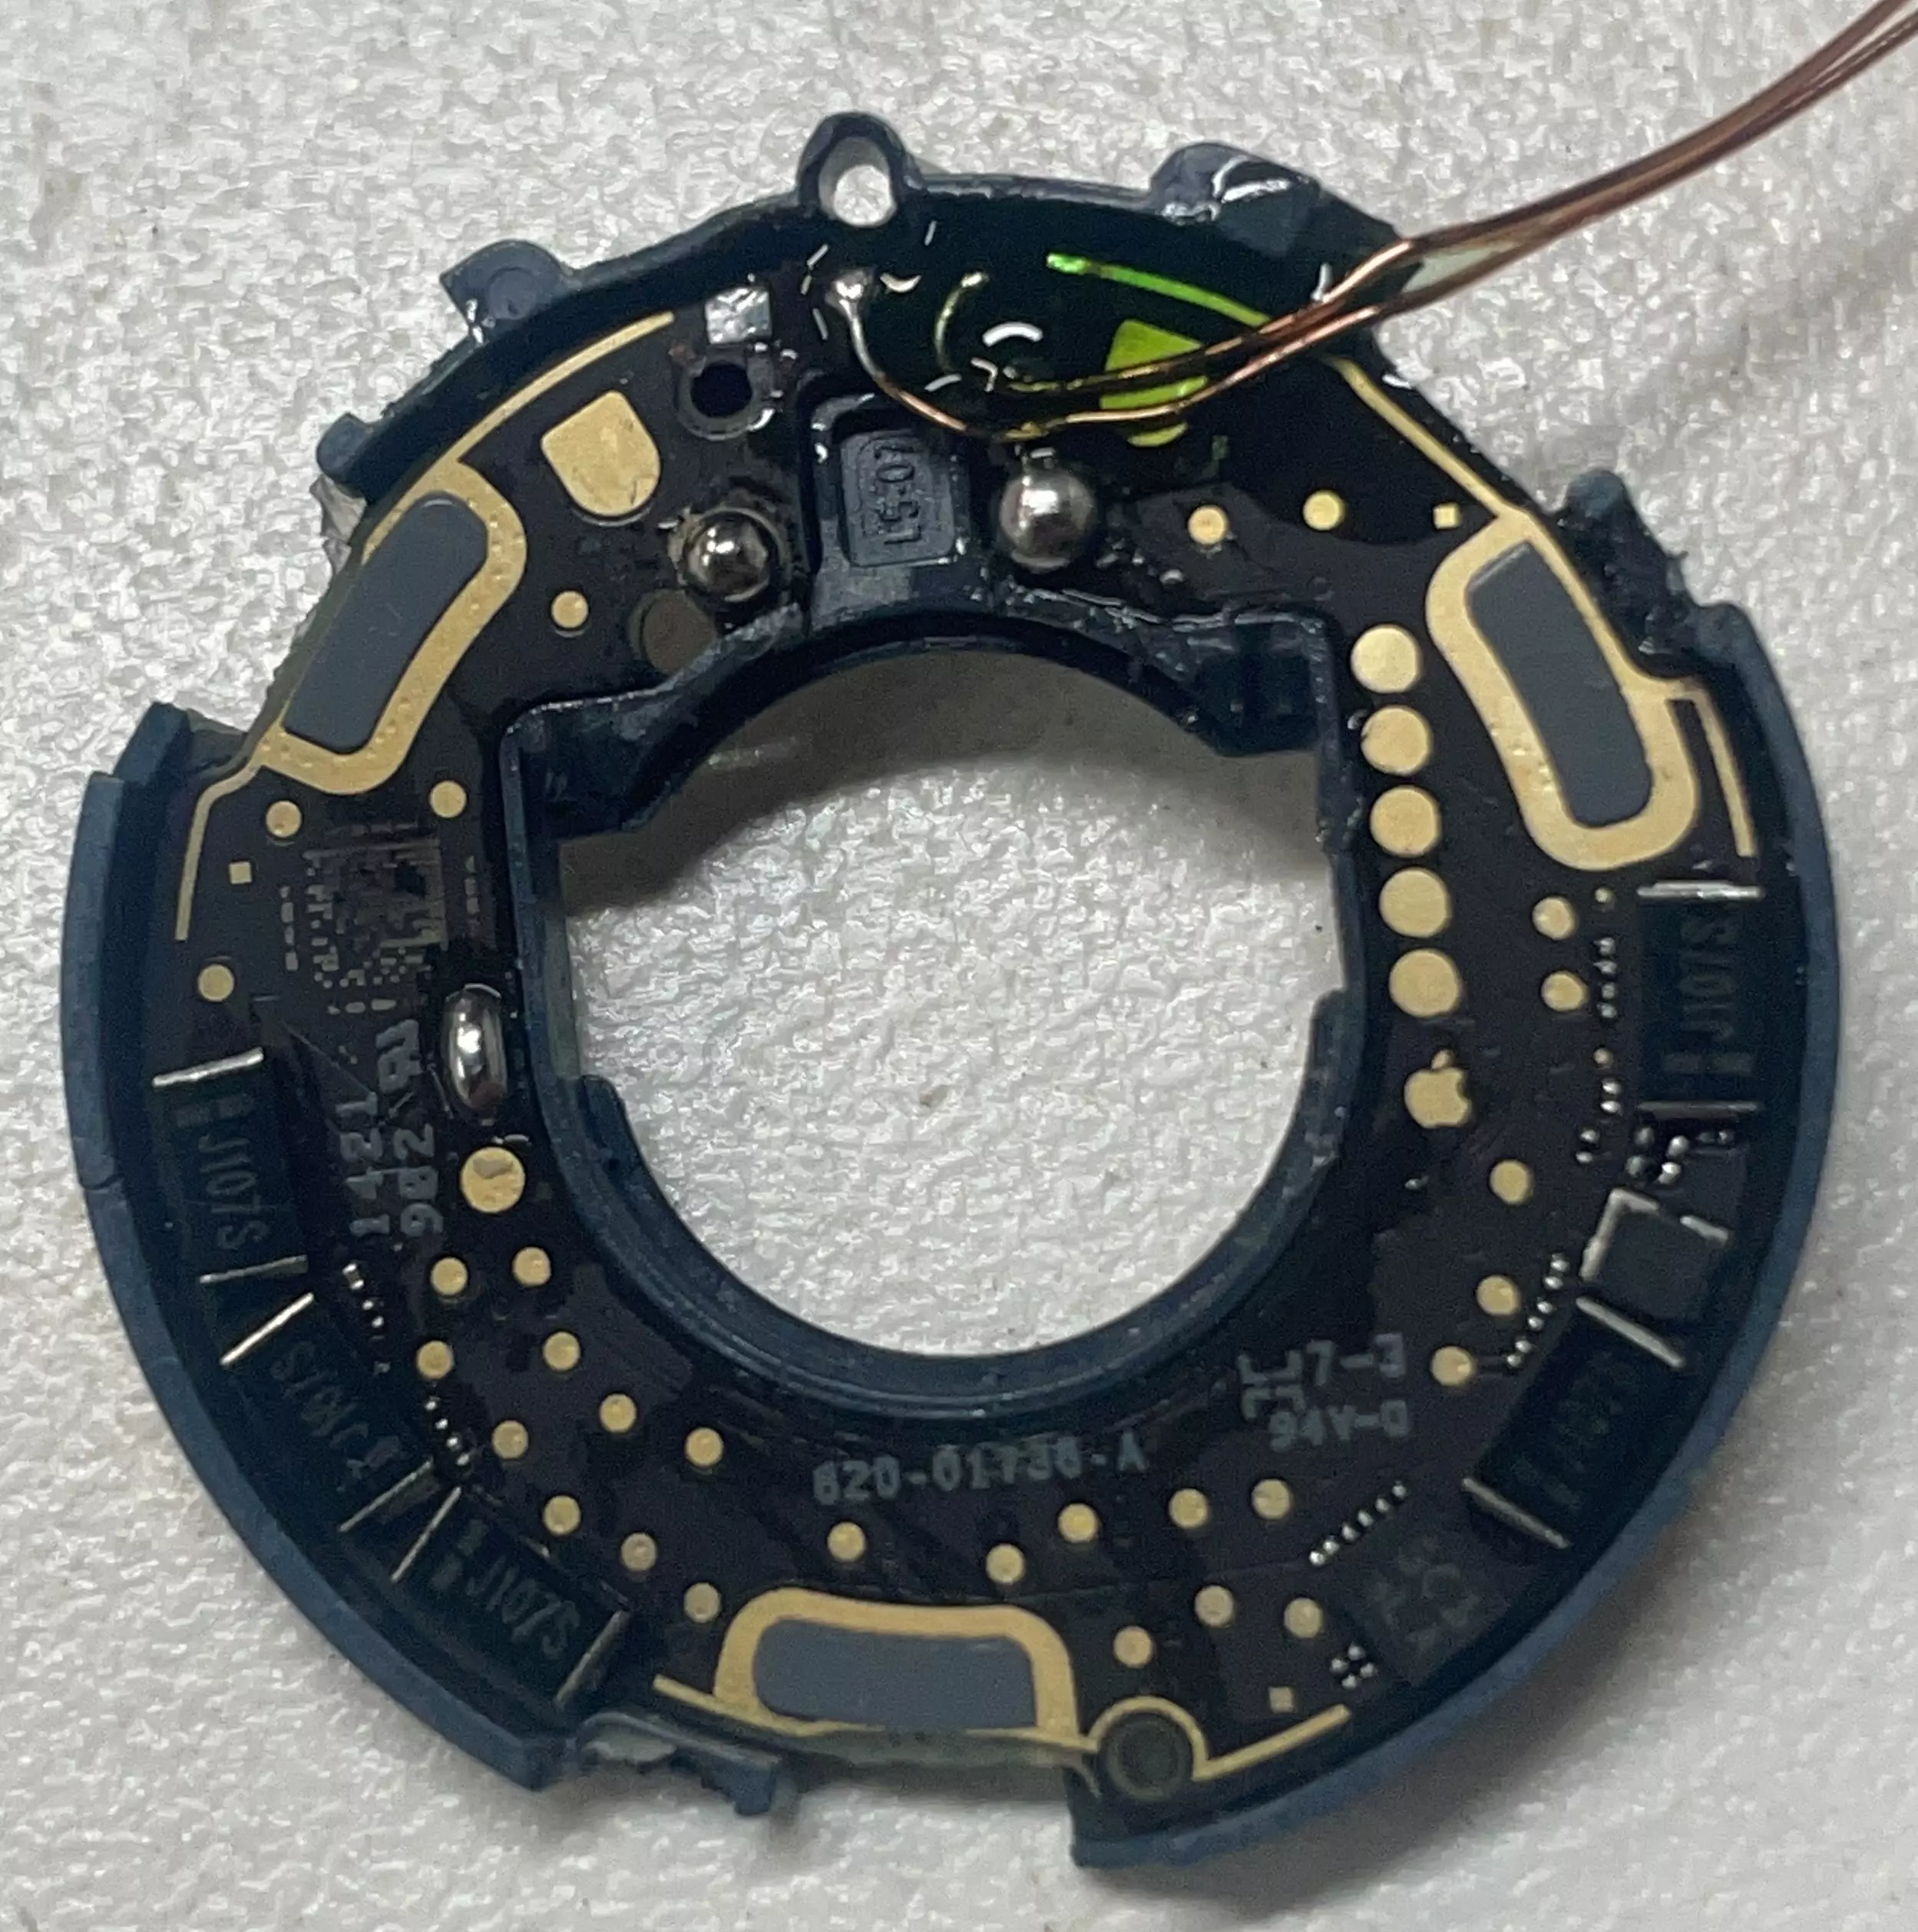
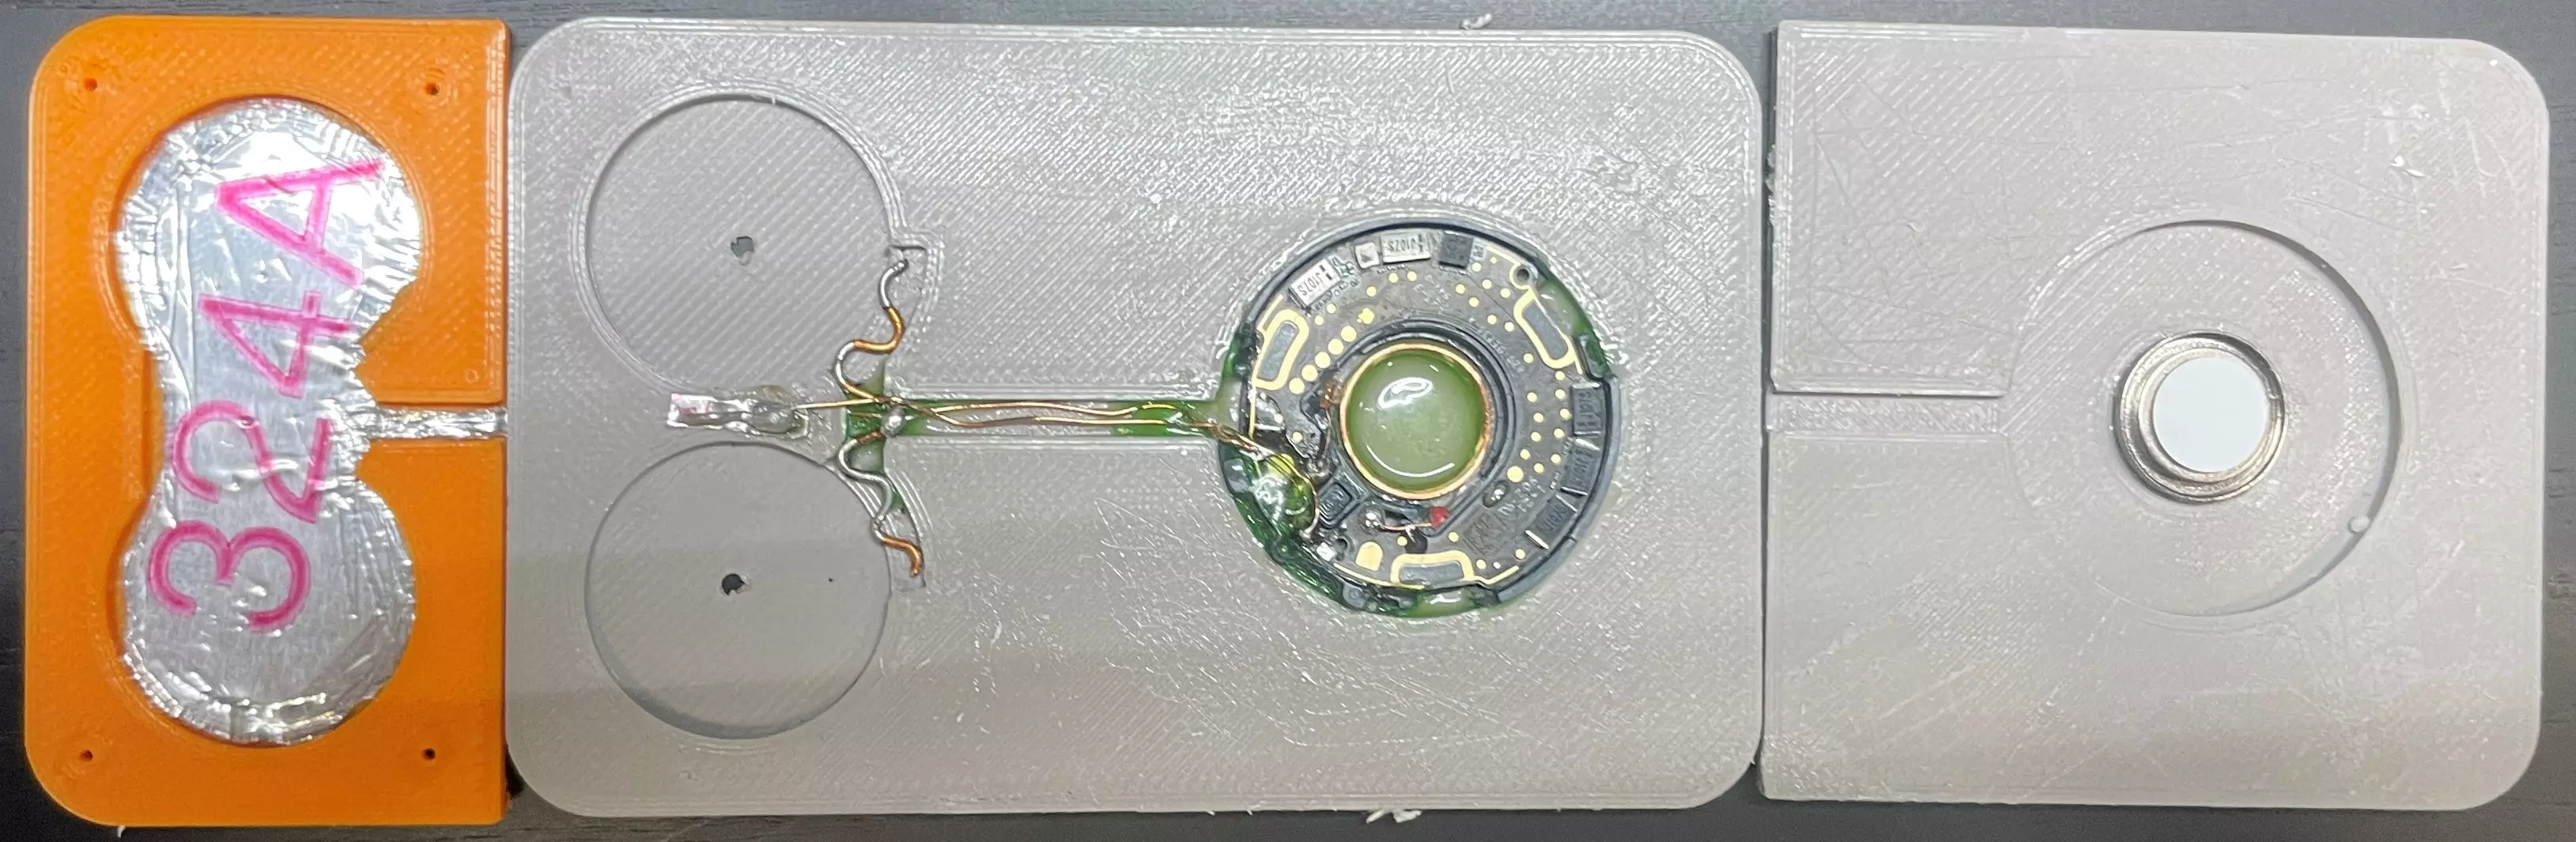
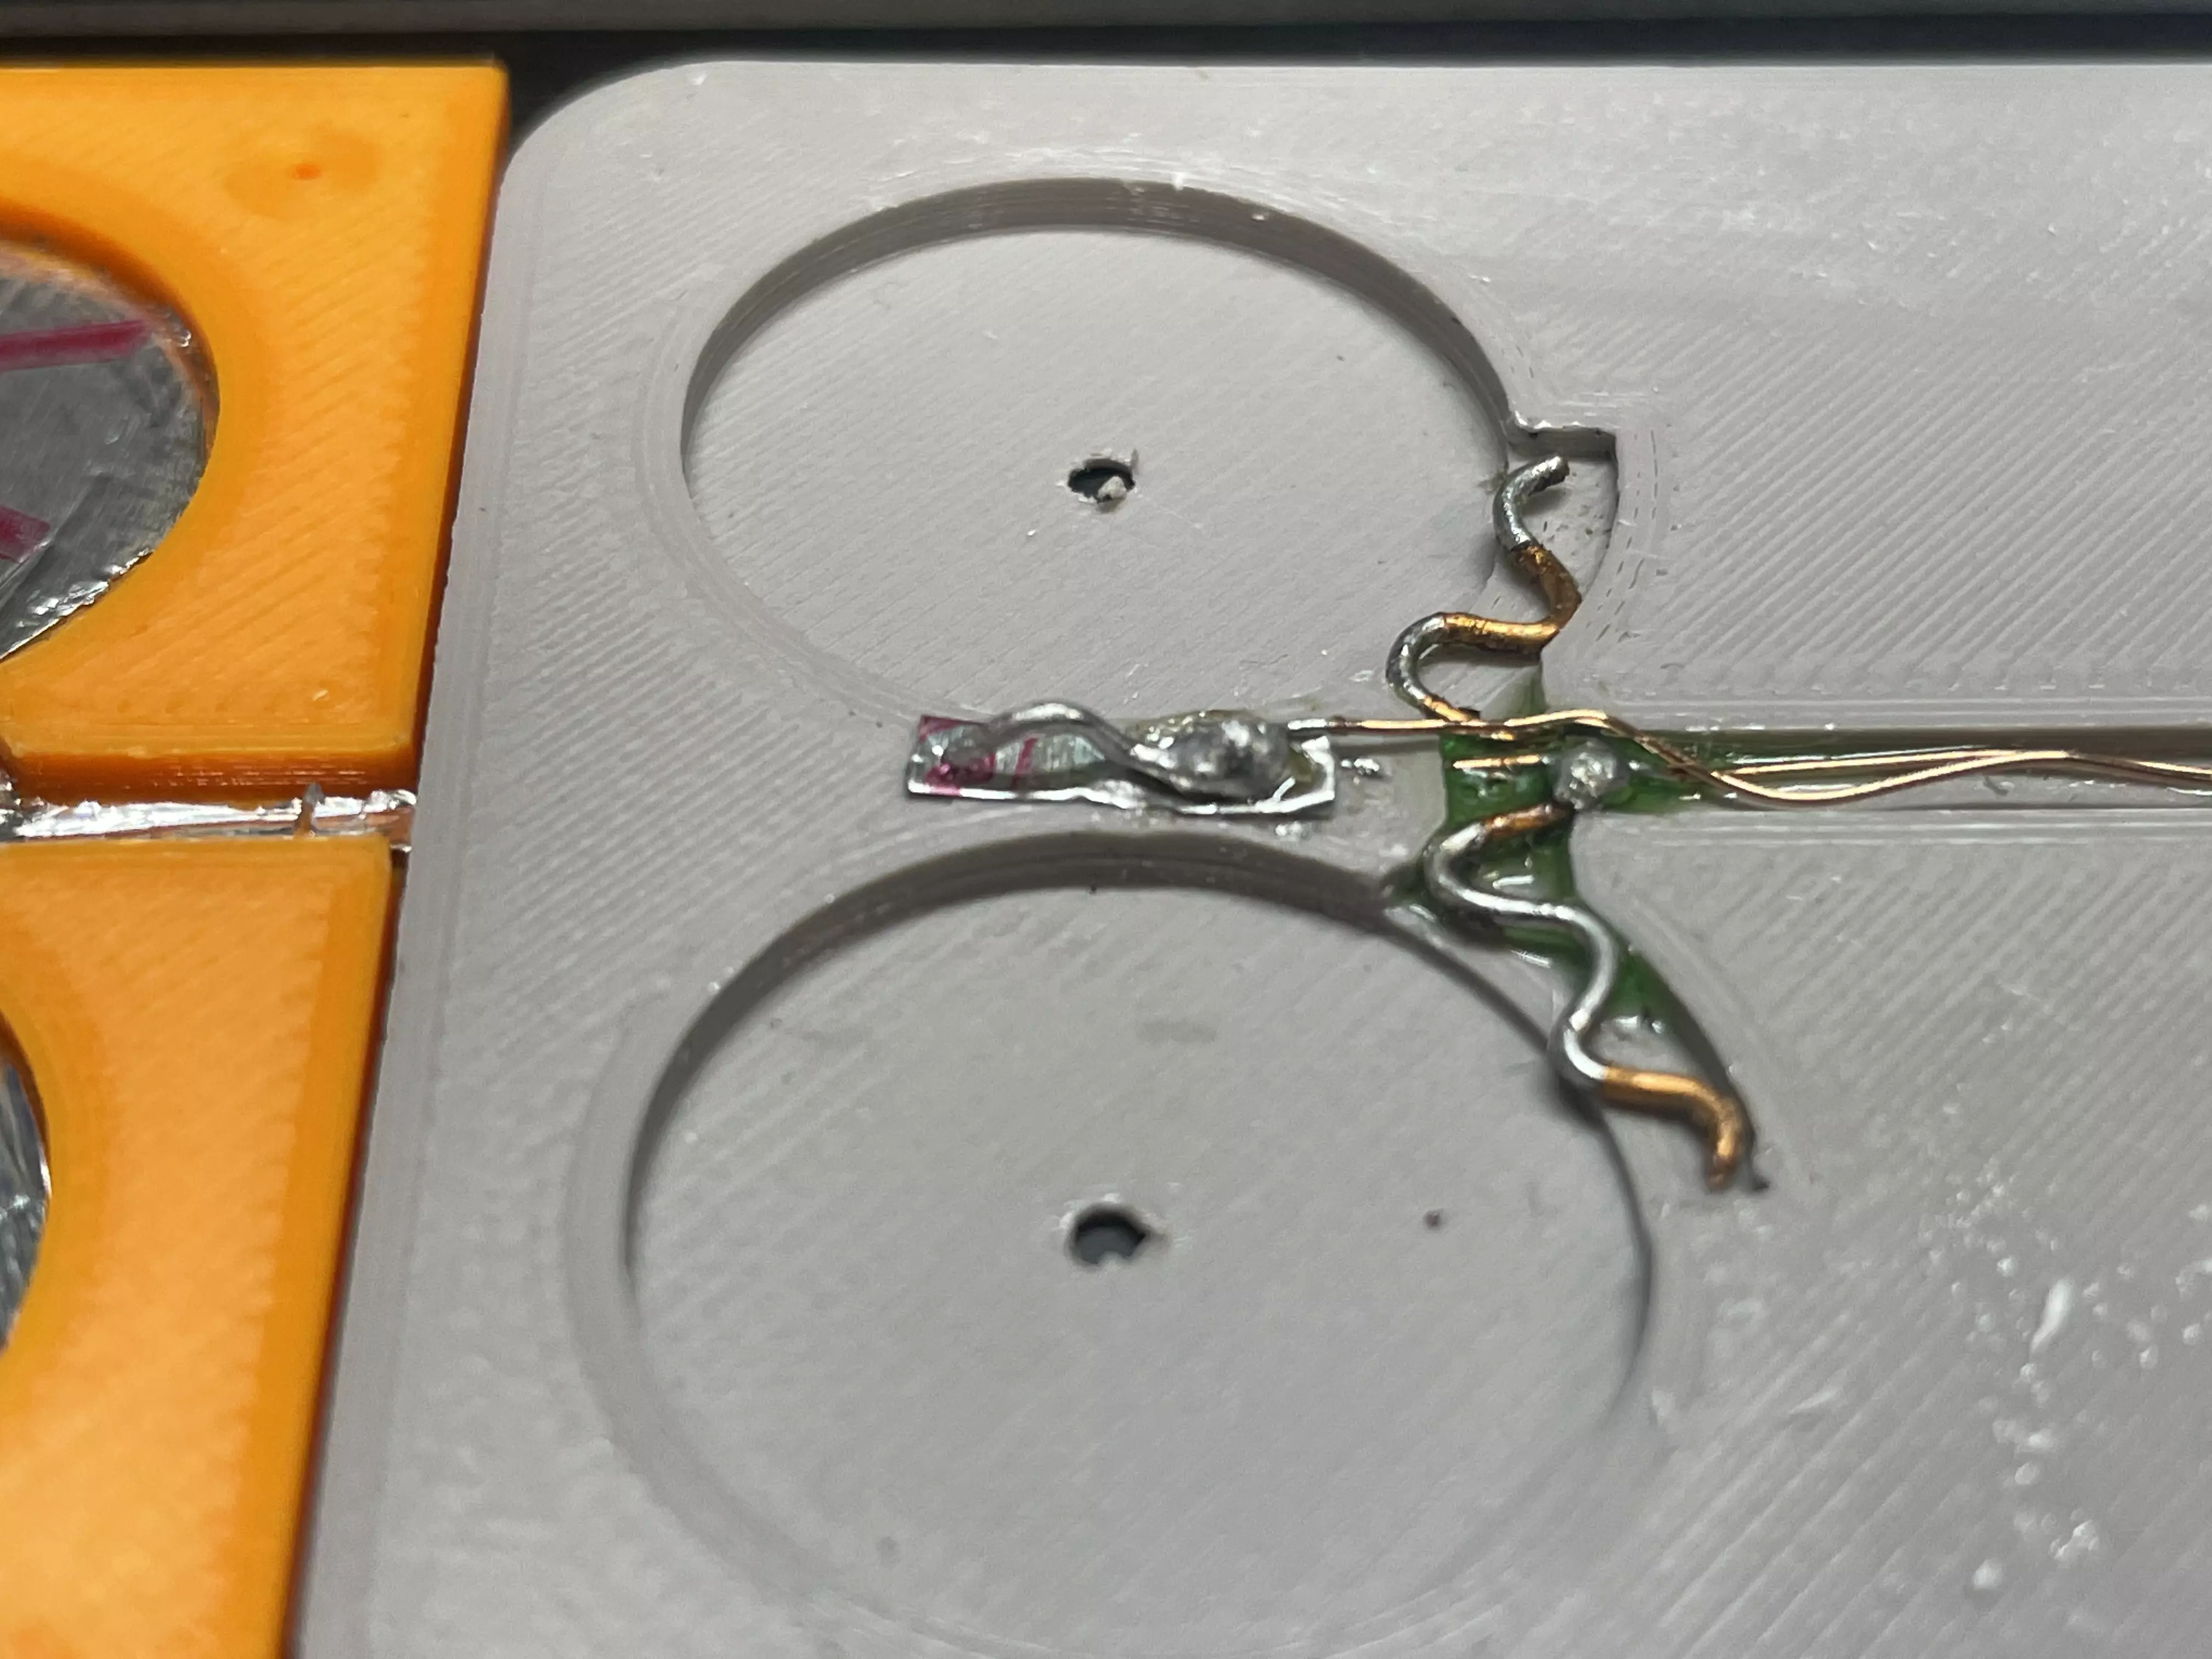
I then broke open my AirTag and pulled out the PCB. I was careful to unsolder the voice coil, as I had already broken one from too much handling. I also soldered enameled copper wire to two of the three power leads, followed by soldering the test pads for VCC1 and VCC2 together in order to have to run less wires out from the AirTag. The green liquid you see in the image below is UV resin. I used this to add strain relief to my wires to prevent myself from ripping the pads off of the PCB.
Assembling the AirTag Wallet
There was still one thing I needed to get’ teeny tiny screws. I ended up getting them from McMaster 91430A151. I am glad I got a ten pack as I have already lost 3 of them. Now that I have all of my pieces, it’s on to assembly.
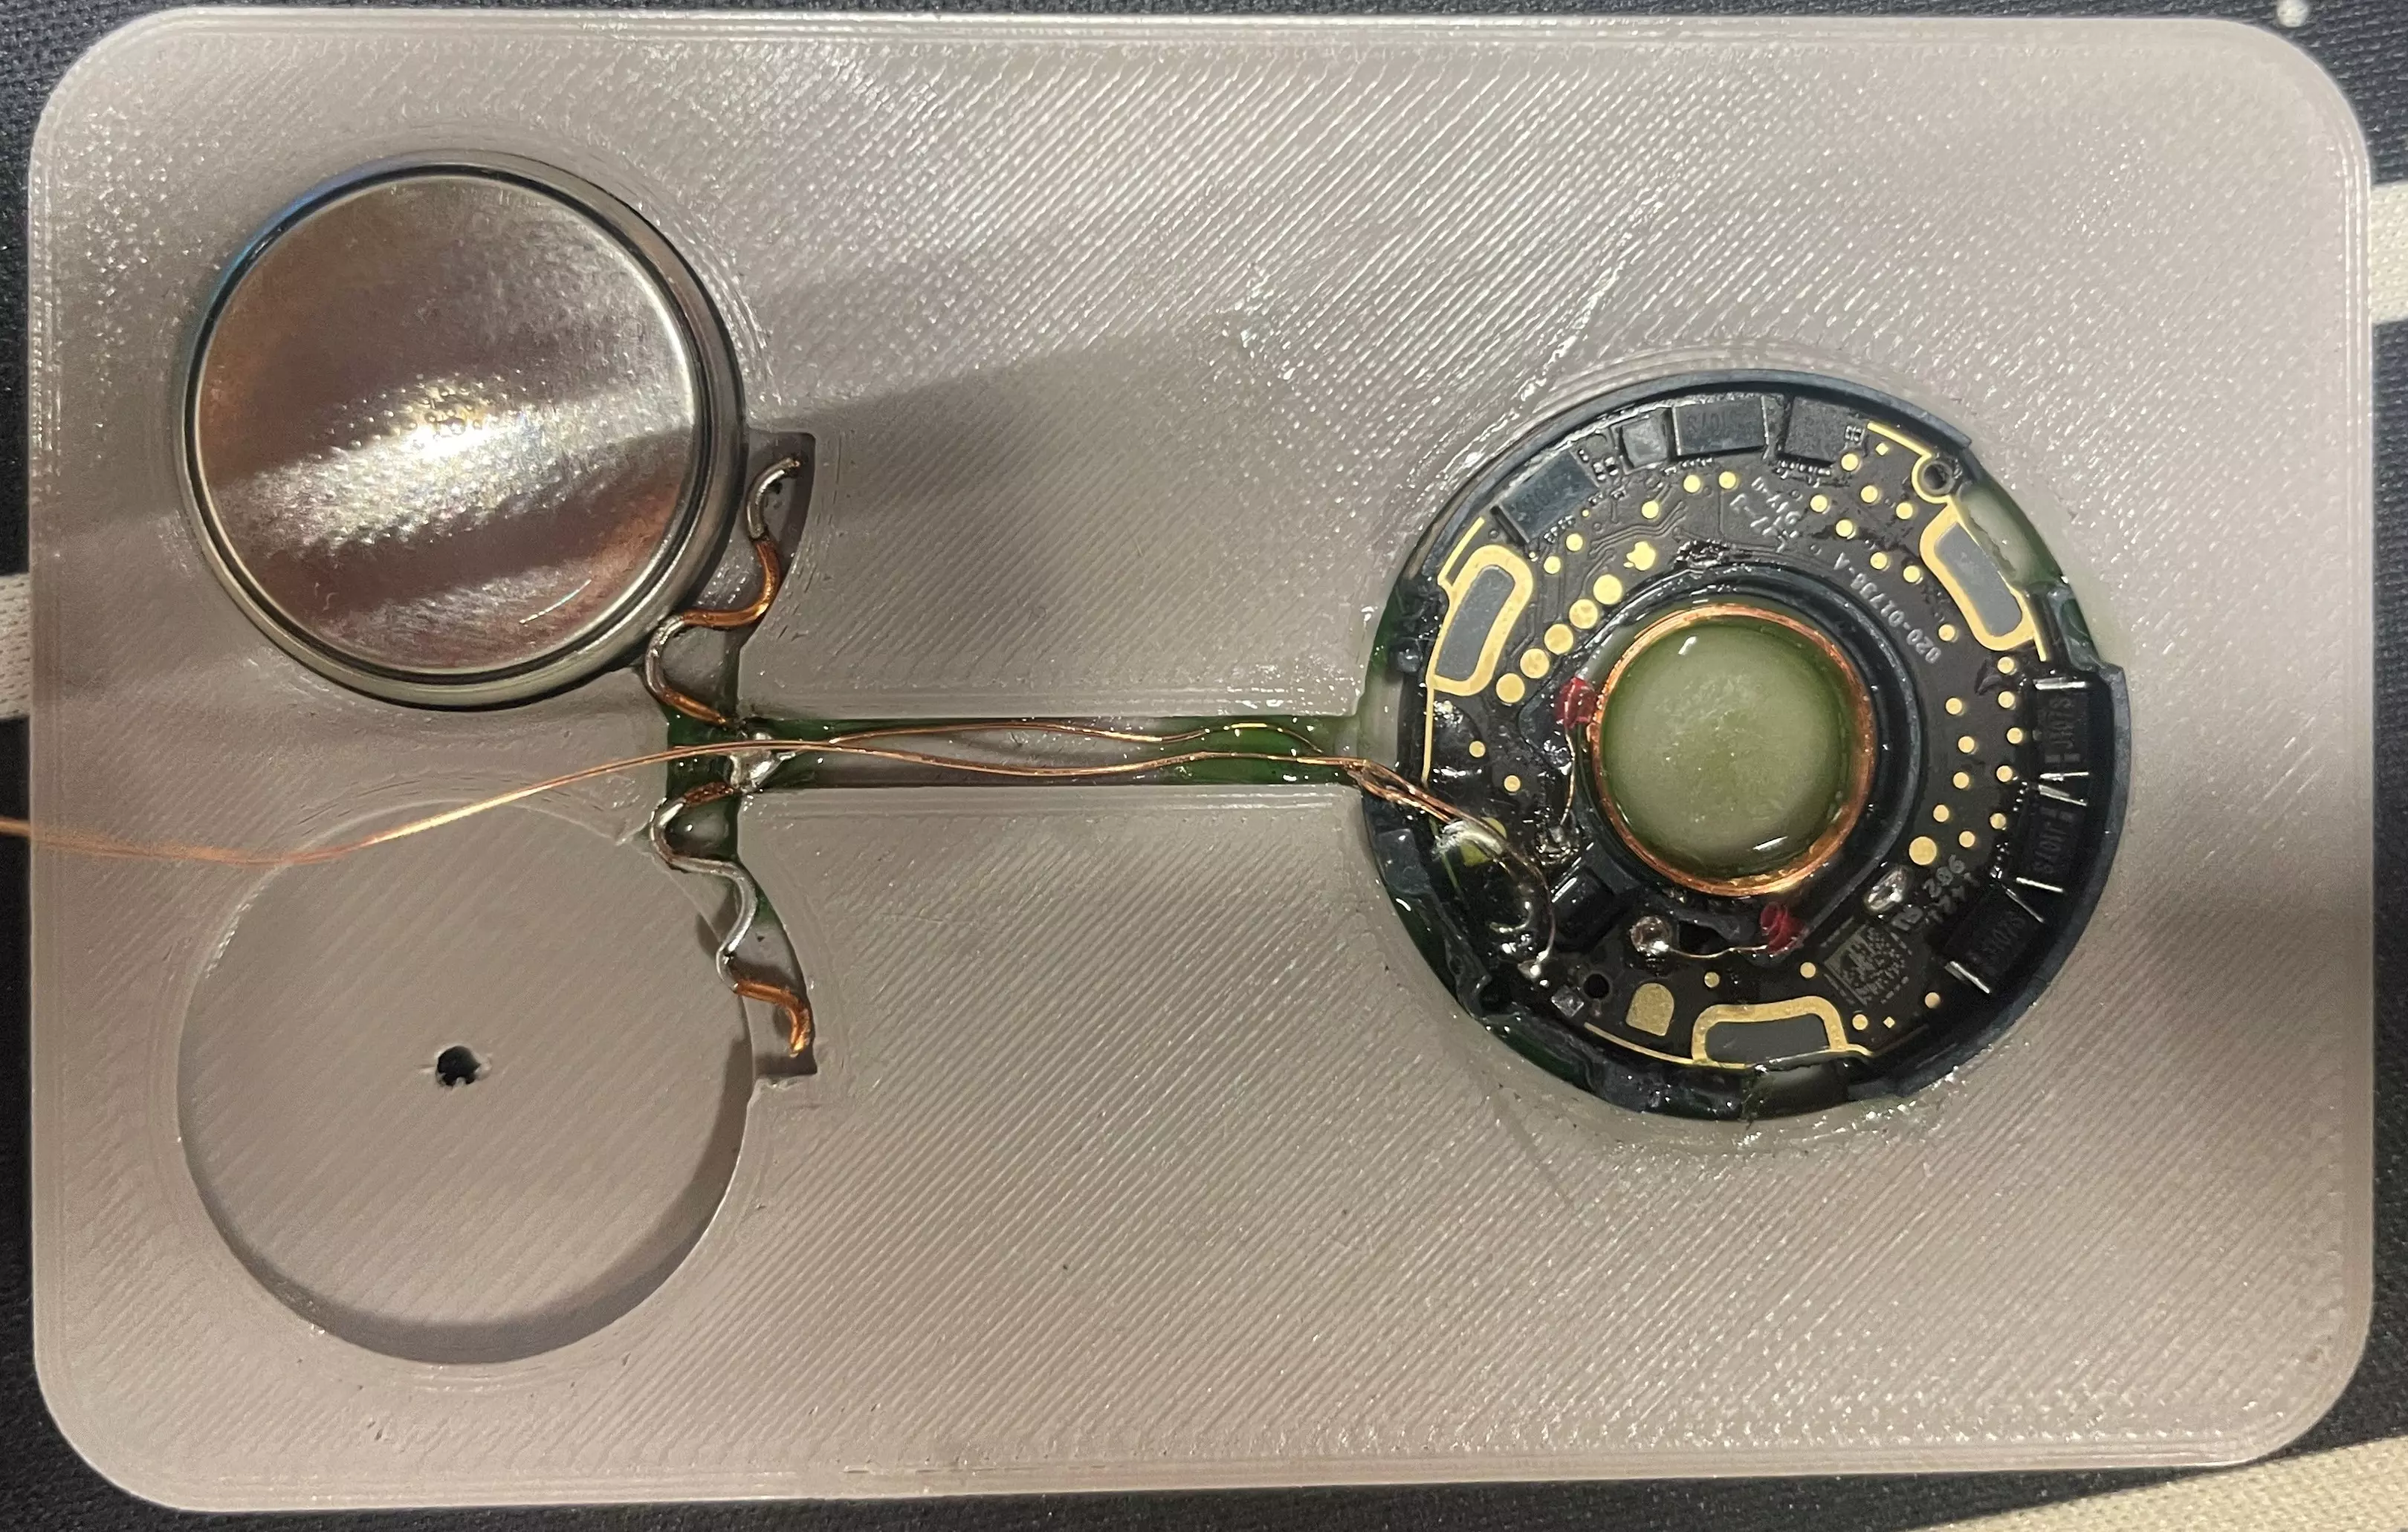
I first glued in the AirTag PCB to the bottom large piece. Next I carefully placed in the voice coil, soldered the leads, and then glued the coil down with the same UV resin as before. The magnet was then placed into receptacle I designed on the cover piece with CA glue to hold it in place. A single piece 22 AWG enameled copper wire was bent to serve as the positive terminal spring for the two batteries. Another piece of 22 AWG wire was used to create a contact spring for the top cover. I covered the top cover with aluminum tape to create the negative battery contact. The rest of the connections were made with 28 AWG enameled copper wire. I closed up the top gray cover with some CA glue to seal it and added some UV resin in the wire channel to help keep from getting water in it.
I was really proud of the spring loaded top cover but unfortunately it caused more problems then it solved. The connection between the top and bottom was very intermittent, causing the AirTag to factory reset itself (apparently with repeated power on and off cycles the AirTag will factory reset, who knew!). So I had to ditch it in favor of soldering the leads directly to the batteries. Not the best solution but it works, and hopefully I can come up with a better solution in the future.
The End Results
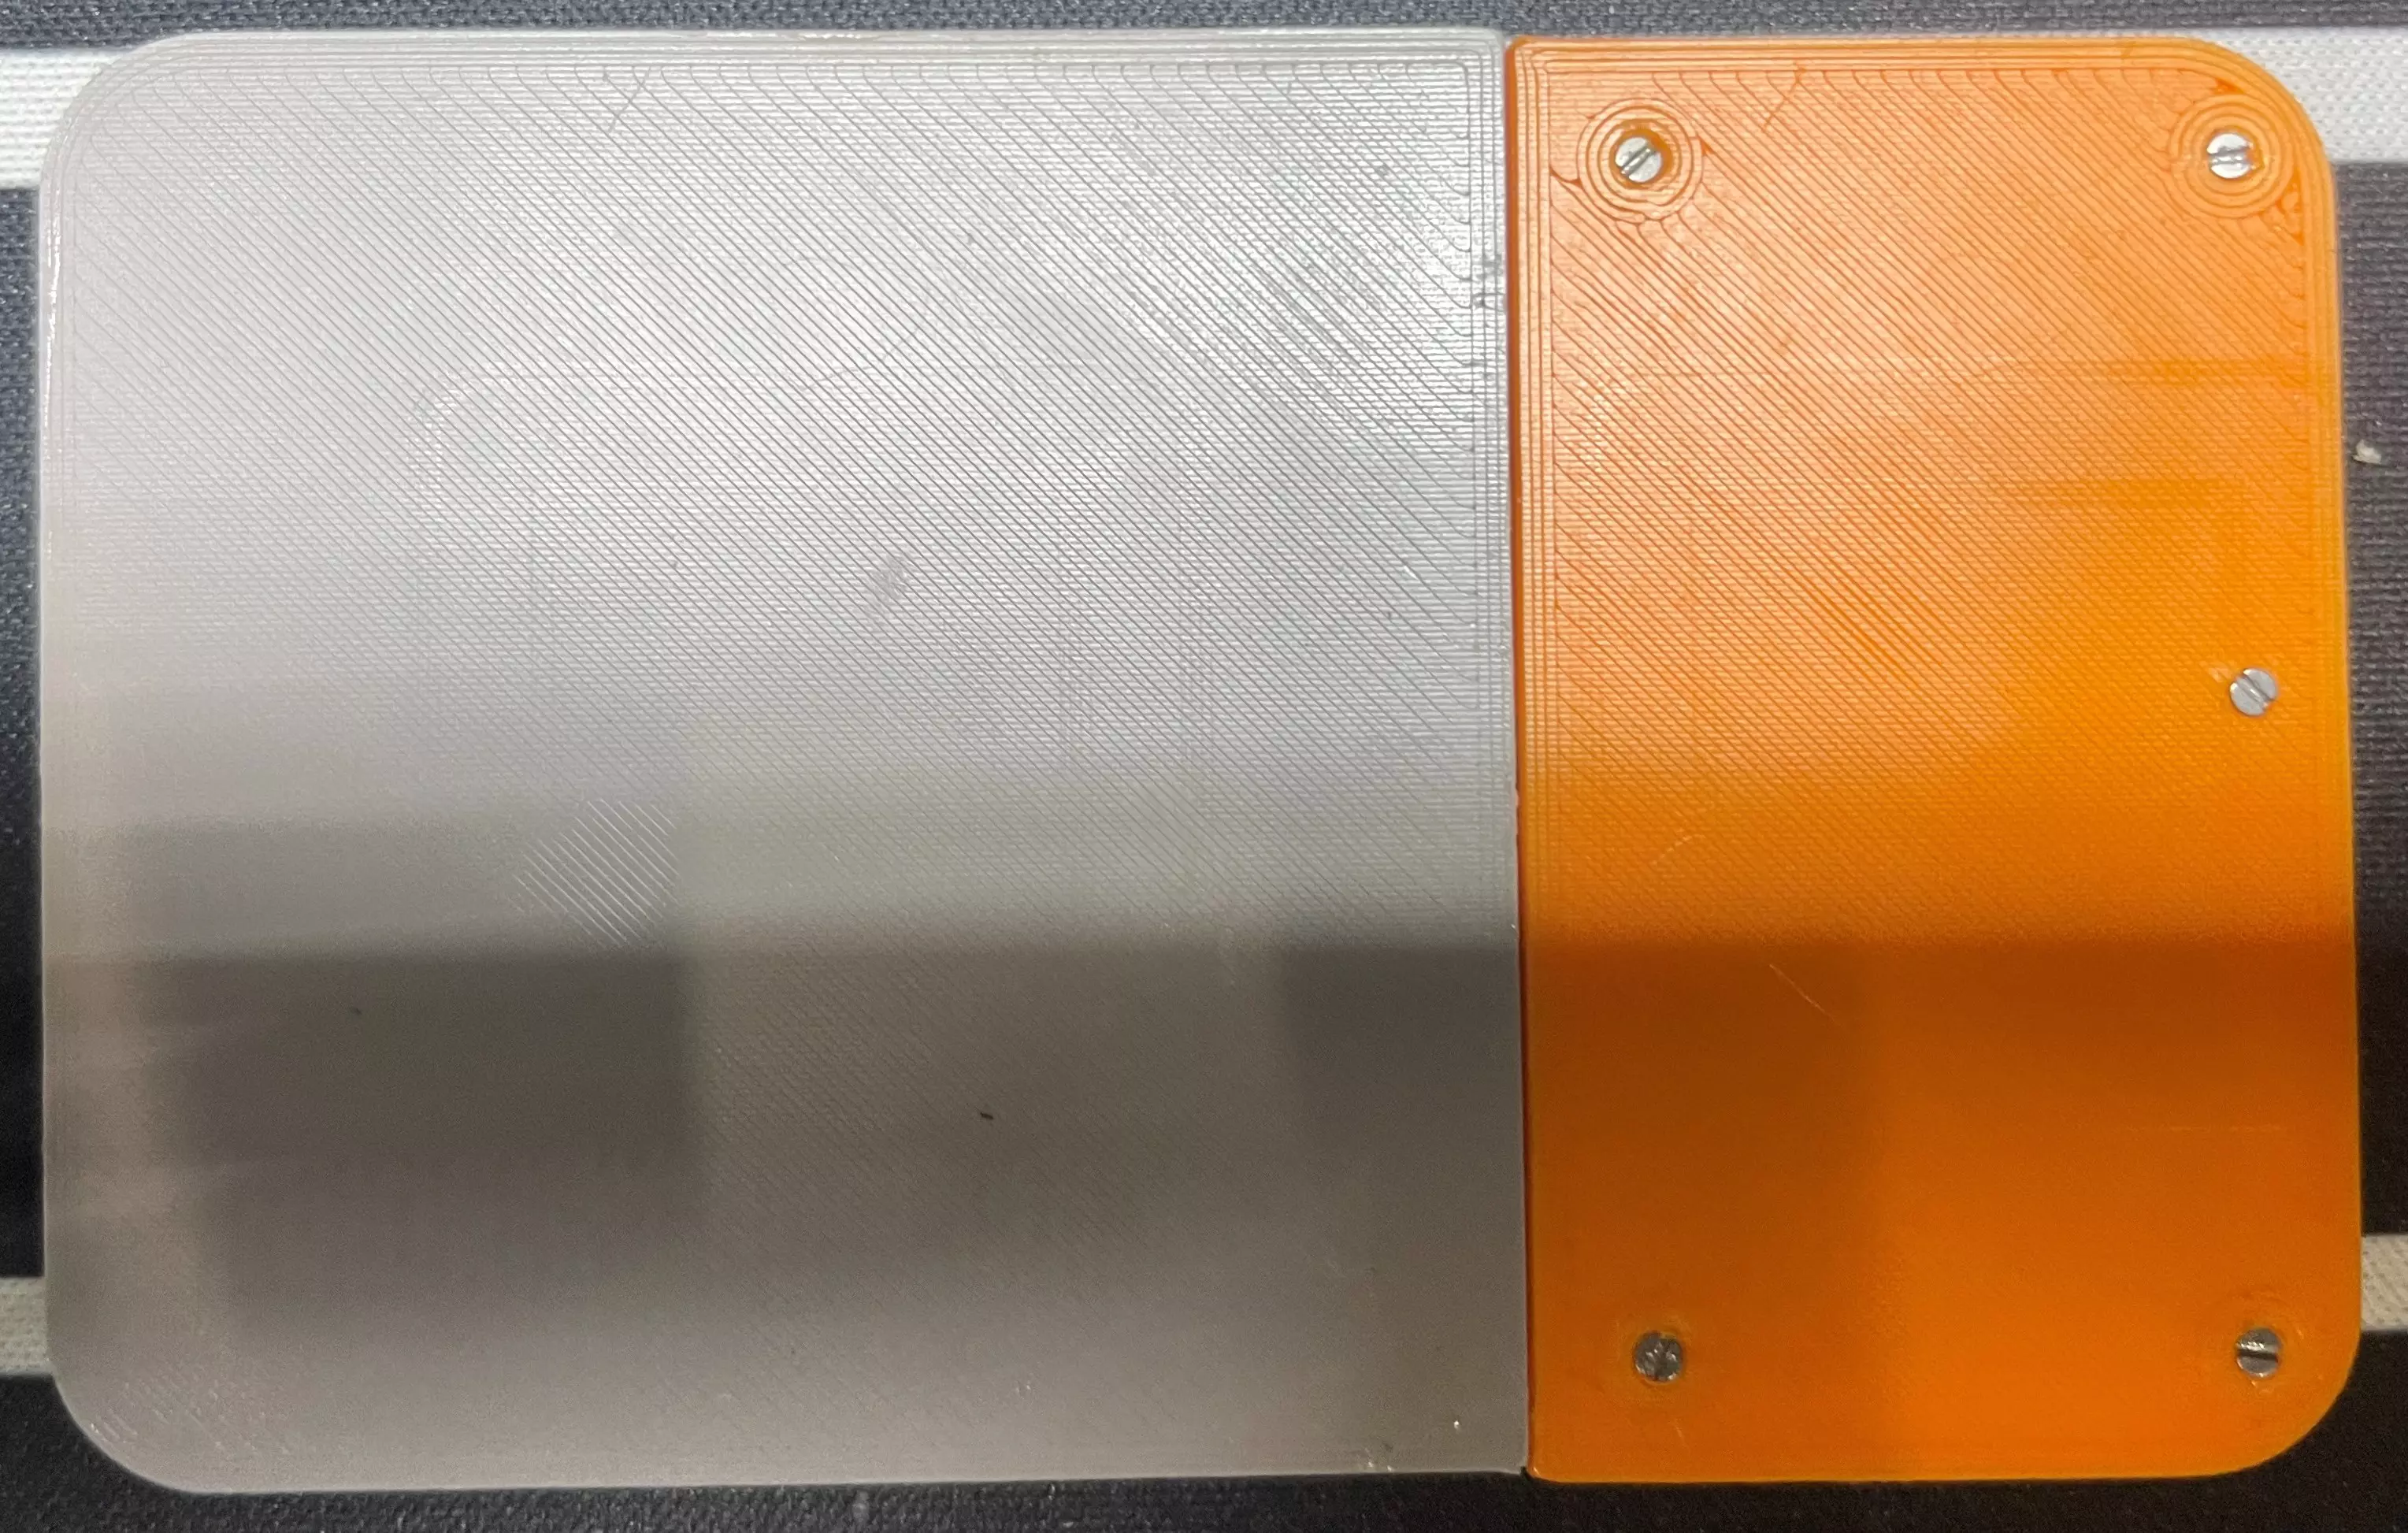
I now have a fully assembled AirTag Wallet. I am really happy with the design and have been using it for about a month now with no issues. It is substantially thinner than the Original AirTag (I know it doesn’t look like much but millimeters matter!) and it has double the battery capacity. The design also provides a even surface making it less noticeable then the triangle bulge the original form factor caused. Lastly the sound, is it loud enough? I think so, it is not as loud as the original AirTag and its has more base with little treble, BUT I can still hear it from across the room when it’s in my wallet.

P.S.
You might see this again! My Makerspace got a UV Printer and I can print full color photos onto anything!
Comments